- Support home
- Usages
- Basic usage and user settings
- Organization management
- Buy with requests
- Sell to requests
- Banban Board
- Banban Board Tutorial — Basics
- Banban Board Tutorial — Calculation
- Messages
- Video meeting
- Shared files
- OneShot Demo Video Recorder
- Appearance and branding
- Ban list
- Common
- FAQ
- Limitations and issues
- H-Market model
- Supported browsers
- Contact
- Subscribe to news updates
- Free and options
- Paid options
- Land domain names
- Sellers
- Banban Board
- Paid options
- Promotion materials
- Identity verification
- Legal
- Terms
- Privacy policy
- Logging setting
- SCT
- Content Creation Guidelines
OneShot
Demo Video Recorder
A screen recorder for making demo videos without post-editing
Elements that are usually added during editing — such as on-screen demos, camera feed, emoji cursor, logos, and highlight rings — can be overlaid during recording. You can record both your face and your actions on Requestland or any other window.
You can record in several parts and redo any part that does not work.
If you need to add text or make detailed edits, use an external editing tool.
Demo
Features You Can Use During Recording
It is part of Requestland, but can also be used on its own.
- Tap effects and click effects.
- Circular highlight ring to point out areas on the screen.
- Company logo display.
- Selfie overlay to include yourself in the video.
-
- Cutout shapes like hearts, squares, and circles. Position and size adjustable.
- Toggle between full-screen and cutout view of the selfie.
- Display a frame when in full-screen selfie mode.
- Beauty filter, softness, brightness, and shadow correction.
- Switch cameras. Supports 4K cameras.
- Emoji cursor 🐝😀👈🧚🏿♀️. computer
- Capture tabs or windows. Zoom in on specific areas. computer
- Pop-up script display (Chrome and Edge). computer
- Microphone volume adjustment. computer
- Marking for editing and export to file. computer
- Displays screen dimensions when resizing.
Items with computer are available only on computers. On smartphones, use the device’s recording function together with OneShot.
Because recorded video is held in memory, recording length depends on device memory capacity. File size is limited to 2GB.
For recording only part of a window, use the OS screen recording function together with OneShot.
A browser extension for using the emoji cursor in any captured window is under development.
How to Use
Launching
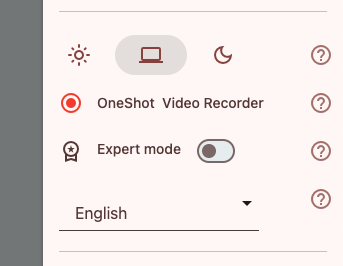 OneShot Demo Video Recorder Launch Button
Click radio_button_checked OneShot Demo Video Recorder in the user menu to open the following menu.
Menu
 OneShot Demo Video Recorder Menu (Computer)
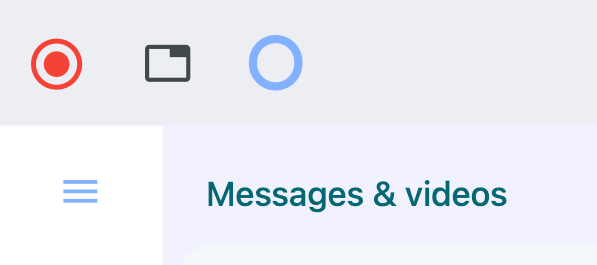 Buttons Shown When Menu is Hidden
- Record Button (Enter) computer
- Starts recording. Recording length is dependent on device memory capacity. File size is limited to 2GB.
- radio_button_checked Menu button
- Displays the menu.
- stop_circle Stop recording button computer
- Stops the recording. The file will download automatically.
- tab Capture tab or screen (c) computer
- Captures and records a tab or window other than Requestland. The captured screen may appear blurred while the menu is open, but it clears when recording starts.
- Resizable, movable
- When enabled, you can move or resize the captured screen. Note that the background will also be shown, so set your preferred background image or color in the theme settings in advance.
- Volume
- Adjust the volume of the captured screen. Set to 0 for no sound. This does not adjust the volume of the camera's built-in microphone when a camera is selected.
- face_retouching_natural Selfie overlay (f)
- When enabled, records your face along with the screen. See the section on Selfie Overlay below. Press the
fkey during recording to switch to full-screen selfie, and press it again to revert. - diamond Logo
- Displays an image from a specified link in the top-right corner of the screen. If you want to use a logo stored in the Shared Files, please set it to “Public” and specify its public link.
- touch_app Click/tap Effect
- When enabled, shows a small circular effect when you tap or click the screen.
- 🐝 Emoji cursor (e) computer
- When enabled, an emoji is displayed on the cursor. Press 🐝 to change the emoji. Use the slider to adjust its size. The original cursor remains visible. Toggle on/off with the
ekey.Avoid emojis that may make your audience uncomfortable.
- mic Mic computer
- Adjust volume with the slider. Set to 0 to disable audio. You can also select a microphone.
- Script viewer computer
- When floating subview is enabled, shows the script in a separate window. It stays on top of the Requestland screen, so you can write your script in a note and overlay it. Place it near the camera for a more natural gaze. (Chrome and Edge)
- hide_source Hide recorder buttons
- The record button will not be displayed. On a PC, press the S key to display the menu. On a smartphone, you may need to restart Request Land depending on the display status. To exit the OneShot Recorder, press the OneShot Recorder button from the user menu.
- close Finish OneShot recorder
- Closes the recorder. If the menu is not shown, you can also exit by clicking radio_button_checked OneShot Demo Video Recorder in the user menu.
Recording on Smartphones
On smartphones, use the device’s built-in screen recording function.
How to use screen record on Android (android.com). Recording starts after 3 seconds.
Record the screen on your iPhone, iPad (apple.com). The start and end of recording are not recorded.
Recording on Computers
Press the large red record button or the Enter key to start recording. The browser will open a dialog requesting permission to record—please allow it.
In Firefox, you may need to click the screen again.
A 3-second countdown will begin. Get ready and smile.
Recording has started.
To stop recording, click the stop_circle button in the top-left corner. The recording will be saved as a file. The codec is H.264/mp4 on Safari and VP8/webm on others.
If you started recording with the Enter key, the stop_circle button will not appear. Press the Enter key again to stop recording.
The recording size is determined by the screen size and pixel ratio. For example, recording an 800 × 800 pixel area on a 2x density screen will result in a 1600 × 1600 video. The actual size may vary depending on OS and device.
(On macOS, a bug may cause the recording size to become excessively large.)
The browser displays "Sharing" at the top of the screen. When recording at standard resolutions such as 1920 x 1080 (HD) or 3840 x 2160 (4K), adjust the screen size in advance to accommodate these dimensions. Changing the screen size will show the number of pixels on the screen for your reference. Note that if you stop capturing during recording, the window height will change. This is handled by the browser, and there is no workaround.
In Chrome and Edge, when capturing a tab, the captured area will scroll along with the page if you scroll. Please click once before you start scrolling. This does not apply to window or full-screen capture. Also, even if you click, the action will not be passed through to the captured screen.
If you want to zoom in on a specific area during recording, use pinch gestures on the screen. The captured screen can also be zoomed.
You can control recording with the keyboard. These shortcuts also work on smartphones with a connected keyboard.
- p key
- Pauses the recording. Press
pagain to resume. - Enter key
- Starts or stops the recording.
- c key
- Captures a tab or window.
- e key
- Toggles the emoji pointer on or off.
- f key
- Switches the selfie (camera view) to full screen. Press
fagain to return to its original shape. - m, i, o, d, BS, Del keys
- See Marking for more information.
Selfie Overlay
When the selfie overlay is enabled, your camera feed appears inside a heart, square, or circular frame. You can drag the overlay to change its position. Drag the edges to resize vertically, horizontally, or diagonally. On smartphones, you can also resize it with a pinch gesture.
Tapping the overlay will display the settings panel below. Tap the overlay or clear to close the panel.
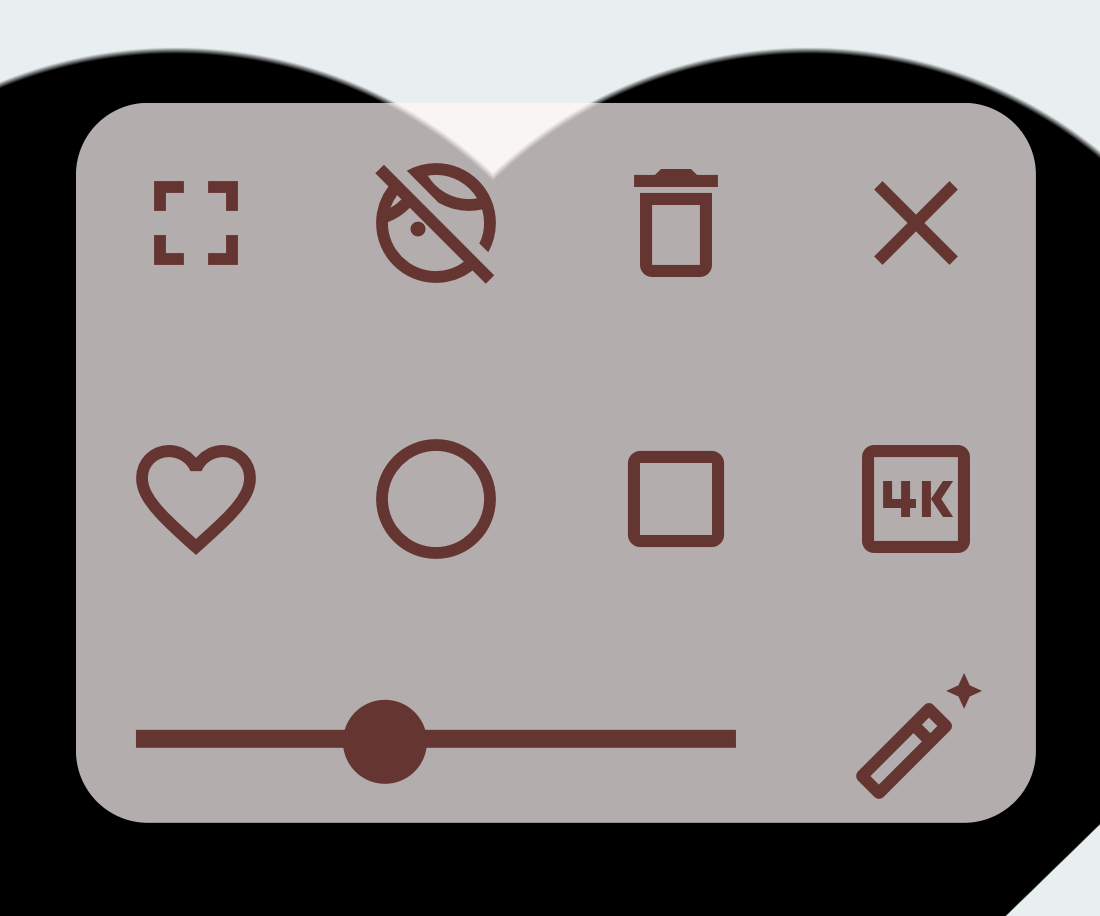
- fullscreen Full Screen
- fullscreen_exit Exit Full Screen
- help Show Help
- delete Turn Off Selfie Overlay
- clear Close This Panel
- favorite_border Heart Cutout
- circle Circle Cutout
- crop_square Square Cutout
- auto_fix_normal Bright and Soft Filter
- If the desired camera doesn't appear in the list, try restarting the browser.
- 4k Switch Between Full HD and 4K
- If your camera supports 4K and it's selected, the button will be colored.
- light_mode Brightness Adjustment
- Tap the icon for rough brightness control.
- contrast Contrast Adjustment
- Tap the icon to reset.
- color_lens Saturation Adjustment
- Tap the icon to reset.
- brightness_medium Shadow Correction
- Tap the icon to reset. When set to anything other than 1.0, the overlay may respond slowly—especially in 4K.
- blur_circular Softening
- Tap the icon to reset.
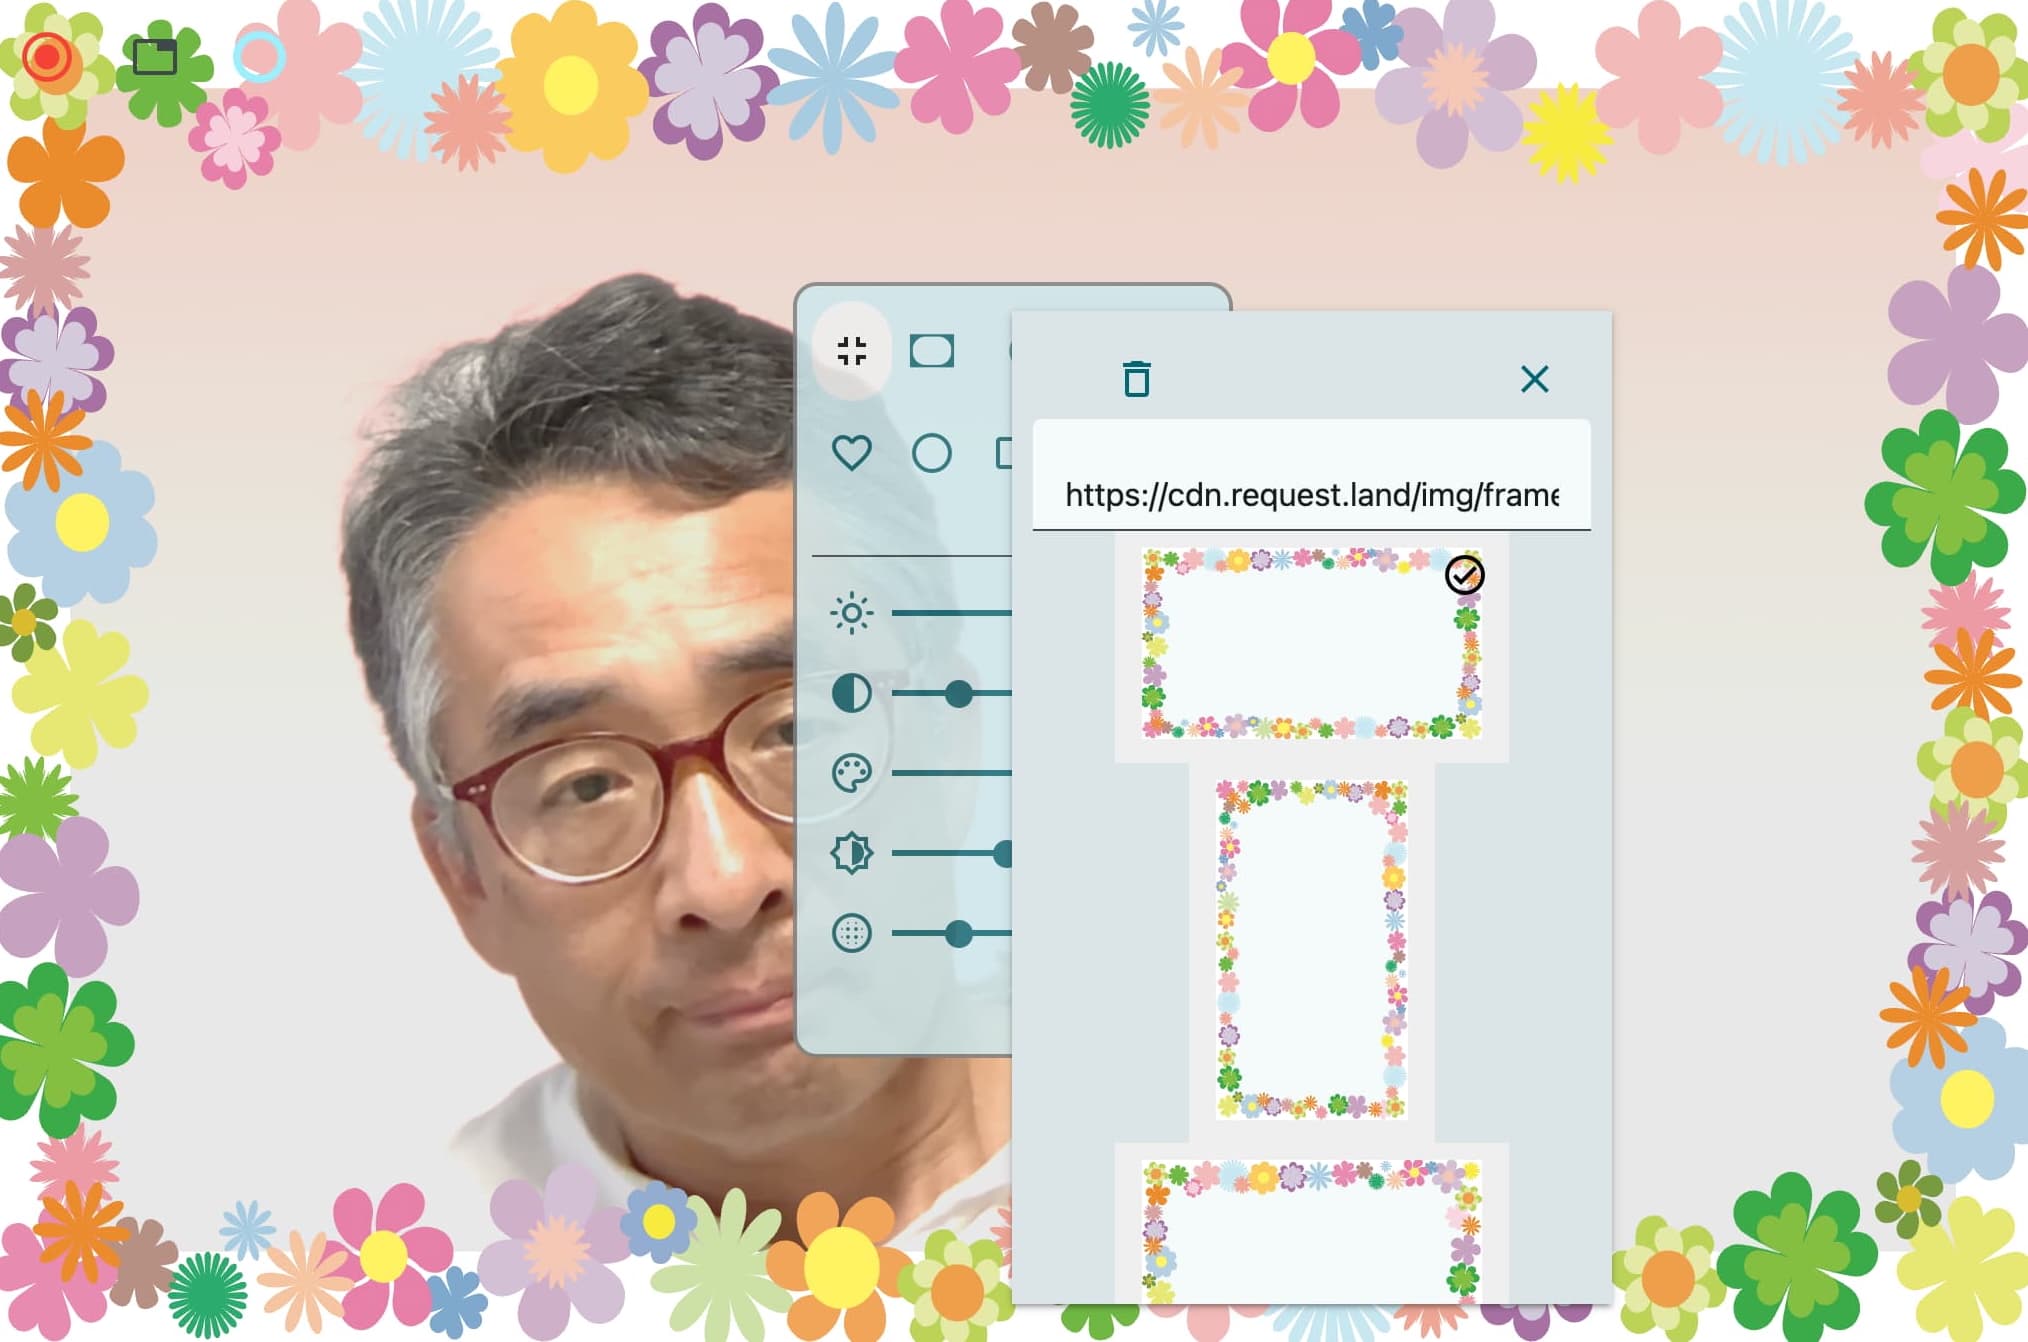
- Frame
- When in full-screen mode, a frame is displayed around the camera image. You can use either built-in frames or your own image by specifying a link. Use formats like PNG or SVG that support transparent areas for the face. It doesn’t have to be a literal frame—it can also be used to overlay text or other visuals on screen.
For SVG frames to fit the shape correctly,preserveAspectRatio="none"is required.
If you're not logged in, you may be prompted to log in after a while.
Wearing heavy makeup for video shoots can look unnatural to viewers. Try the “Bright and Soft Filter” auto_fix_normal. It doesn’t support all skin tones equally, so please adjust the color balance to suit your complexion. Wishing you success with your video! Here’s a quote from Marilyn Monroe: “A smile is the best makeup any girl can wear.”
References
Highlight Ring
 Highlight Ring
When the highlight ring is enabled, you can briefly show a circular highlight to draw attention to a specific spot on the screen.
On smartphones, tap the round button at the top left of the screen, then tap the desired spot.

On computers, hold the ALT key or Option key while clicking.
Marking
Example:
          00:00:01:472 i, In
          00:00:03:205 o, Out
          00:00:04:961 p, Paused
          00:00:05:620 m, Mark
          00:00:07:985 e, End
During recording, you may want to pause, redo a section, or note parts to cut later. It’s useful to record these moments so you can refer to them during editing. There are the following markers.
    m: Mark
    i: In
    o: Out
    d: Delete
    F: Selfie fullscreen start
    f: Selfie fullscreen end
    C: Capture start
    c: Capture end
    p: Paused
    e: End
To do this, press any of the keys below during recording. It will log the time since the recording started along with a mark. These are saved in a marking file when recording ends. The marking file contains timestamps and labels like this, which help you during editing:
- m key
- Records a Mark.
- i key
- Records In.
- o key
- Records Out.
- d key
- Records Delete.
- p key
- Pauses the recording and records Paused.
- Backspace or Delete key
- Deletes the last mark. Press multiple times to delete multiple marks.